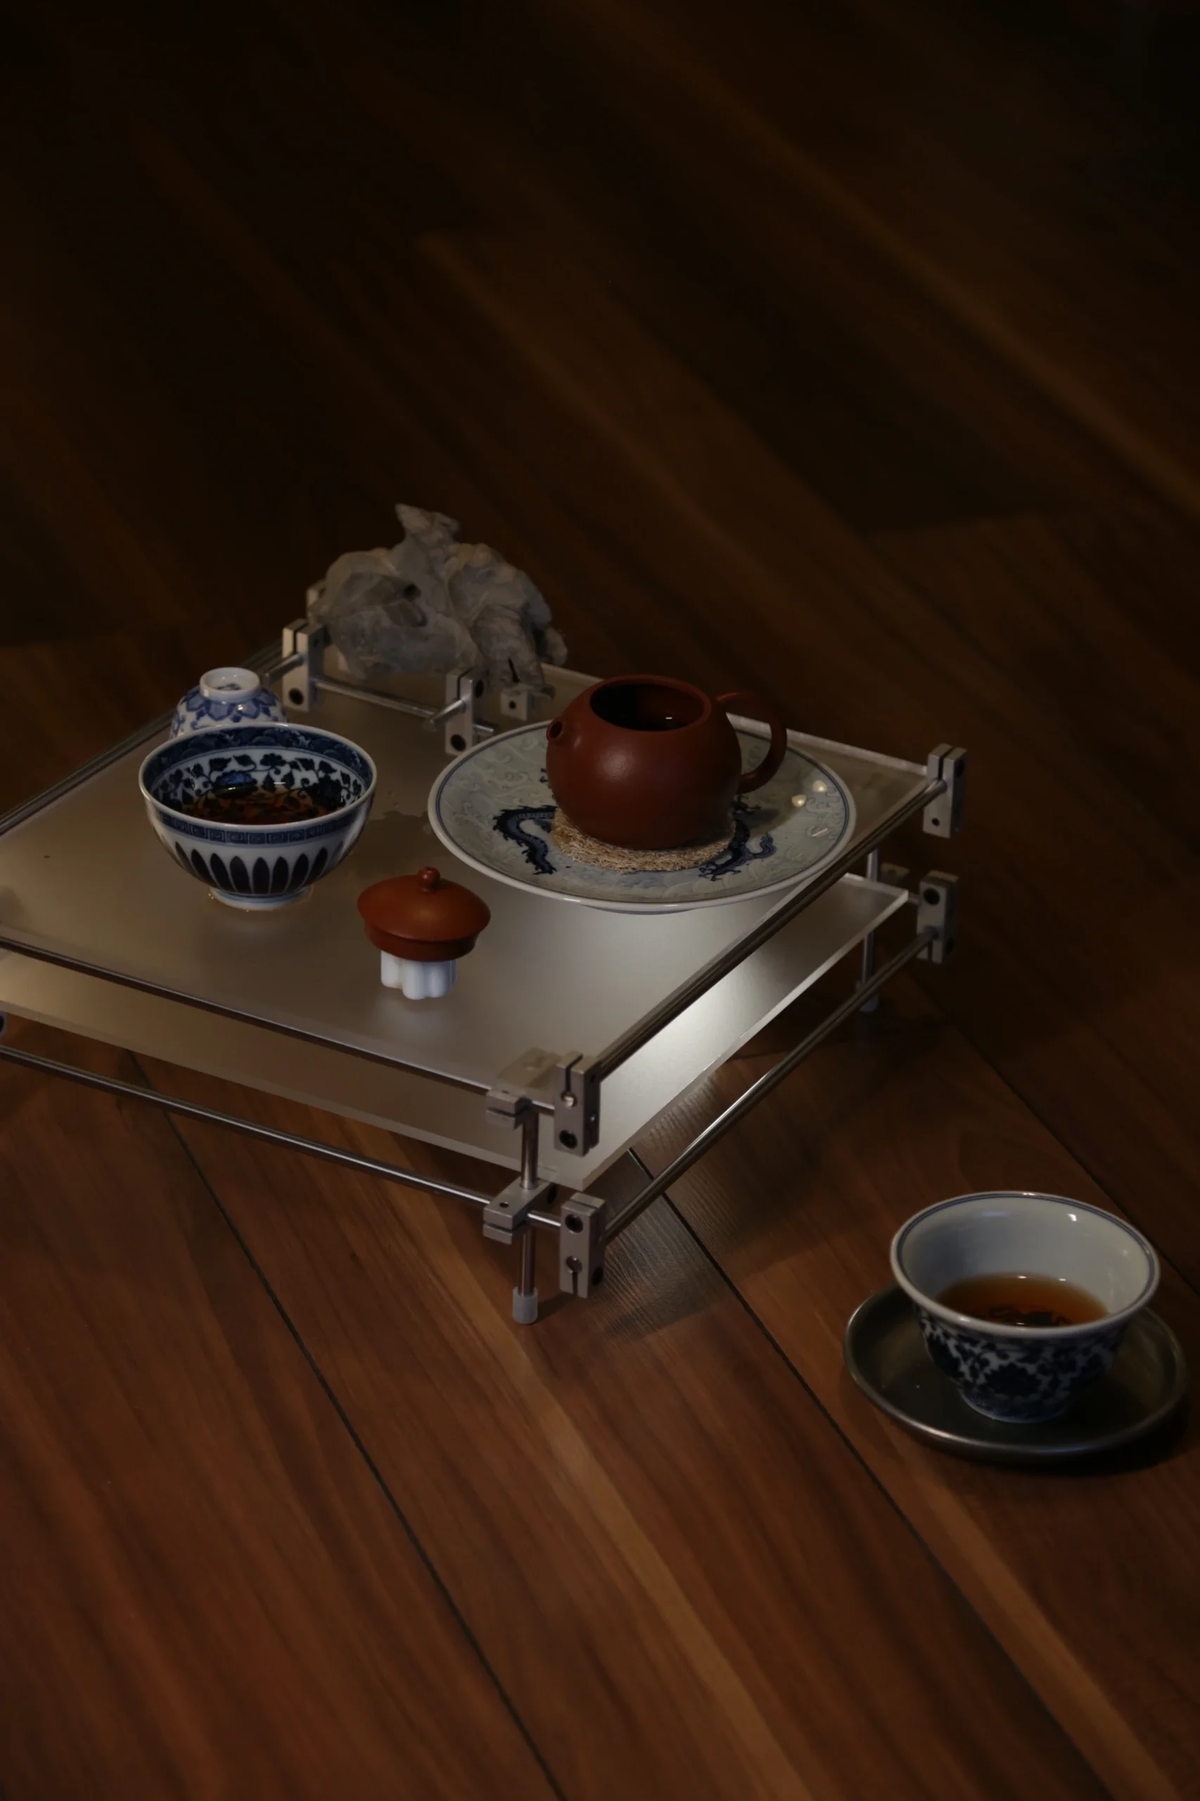
DIY a Simple Acrylic Tea Table, Full Step Tutorial
|
Time to read 1 min
|
Time to read 1 min
Hey there DIY enthusiasts! Welcome back to Allprives DIY blog. Today, we're diving into a straightforward and stylish project – DIY a tea table from stainless steel rods and acrylic board. Trust me, it's easier than you think! This DIY guide will walk you through the process, helping you create a sleek and modern tea table that'll be a standout piece in your home. Ready to get hands-on and give your space a personal touch? Let's jump in!"
6mm diameter, 10cm length stainless steel rods x4
6mm diameter, 30cm length stainless steel rods x8
Same diameter 6mm*6mm x16
30cm Length*27.5cm Width* 4.5mm Thickness x1
27.5cm Length*26cm Width* 4.5mm Thickness x1

Now that we have all the materials ready, let's move on to the tea table creating process!!!
Here's the exploded view of the tea table. We can say it is a super easy installation, simply connect the stainless steel rods through fixing clips, then mount the acrylic plate on it.


Now a simple modern-style acrylic tea table is completed! Let's take a quick preview of the acrylic tea table.


And there you have it – your very own stainless steel and acrylic tea table! I hope this DIY journey was as enjoyable for you as it was for me. Now, kick back, relax, and savor the satisfaction of creating a piece that's both stylish and uniquely yours. Cheers to more hands-on projects and the simple joy they bring to our spaces. Happy crafting!