DIY a Stainless Steel Rods Clothes Hanging Rack
|
Time to read 2 min
|
Time to read 2 min
Hello, DIY enthusiasts! Welcome back to Allprives DIY blogs.
Today, we're tackling a super easy project: making a cloth hanging rack out of stainless steel rods and fixing clips. Seriously, it's a breeze – just connect the rods with the clips, and voila! You'll have a sleek, functional hanging rack that'll keep your clothes tidy and your room looking sharp. Let's roll up our sleeves and dive into this fun and practical stainless steel rod cloth hanging rack process!
200cm length stainless steel rods x2
150cm length stainless steel rods x2
35cm length stainless steel rods x2
25cm length stainless steel rods x2

Now that we have all the materials ready, let's move on to the cloth hanging rack process!!!
Take out the shortest 25cm rods, use a 90-degree connector, and connect the vertical end.

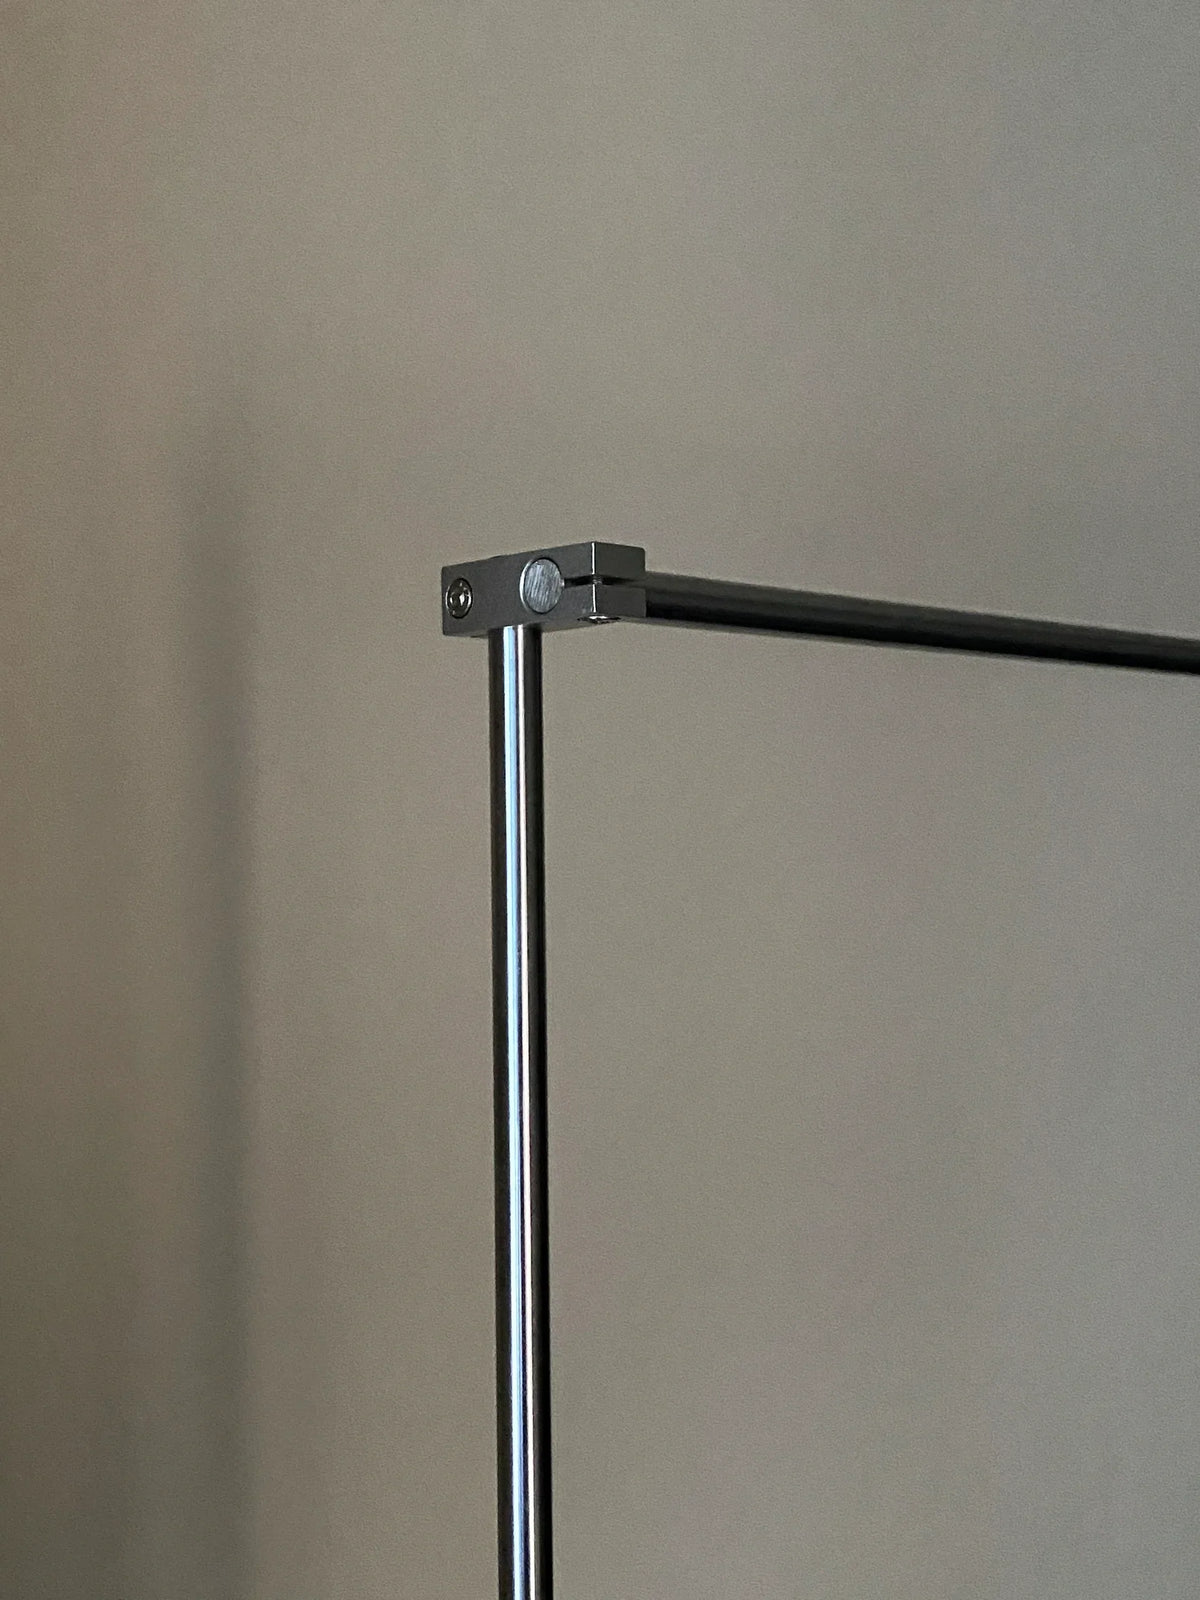
Then connect the 35cm ones with a cross-fixing connector. One installed in the middle and one at the top.

Connect the rods you prepared in steps 1&2, as shown in the picture, and connect them with the 360-degree connectors, symmetrical on both sides. The short rods are connected to the rotating end of the swivel connector.

First, connect the 150cm rods in the middle. Left and right operations are the same.
Then adjust the swivel connector to the angle you want (the two sides are consistent) install the cross connector on the vertical axis and connect the two sides with a 200cm long rod. This completes the base.

The last step of finishing the cloth hanging rack. The top part is very simple, just use the last 2 cross clips to connect the last 200cm rod and it's done.

Now we have a completed stainless steel rod cloth hanging rack, let's take a quick preview.


And that's all there is to it – your very own stainless steel rods cloth hanging rack! The load-bearing capacity of this cloth hanging rack is also very good, it is very durable and will not rust. I hope this DIY project has been as fun for you as it has been for me. Now, step back and appreciate the practicality and style you've added to your space.
Here's to more easy DIY projects and the satisfaction of making your home a little bit better, one project at a time.